
The barcode looks fine. The dimensions seem right. The ZPL rendered correctly in the viewer. But the scanner on the warehouse floor either beeps and rejects it or doesn’t respond at all. This is one of the more disorienting ZPL problems to debug because nothing in the code is obviously broken and yet the label is functionally useless until someone figures out why.
The answer depends heavily on which barcode type you’re printing, what printer you’re running it on, and what scanner is being used to read it. Those three variables interact in ways that aren’t always predictable from a viewer, and the fix in one environment isn’t always the fix in another.
When the Issue Is the BY Configuration
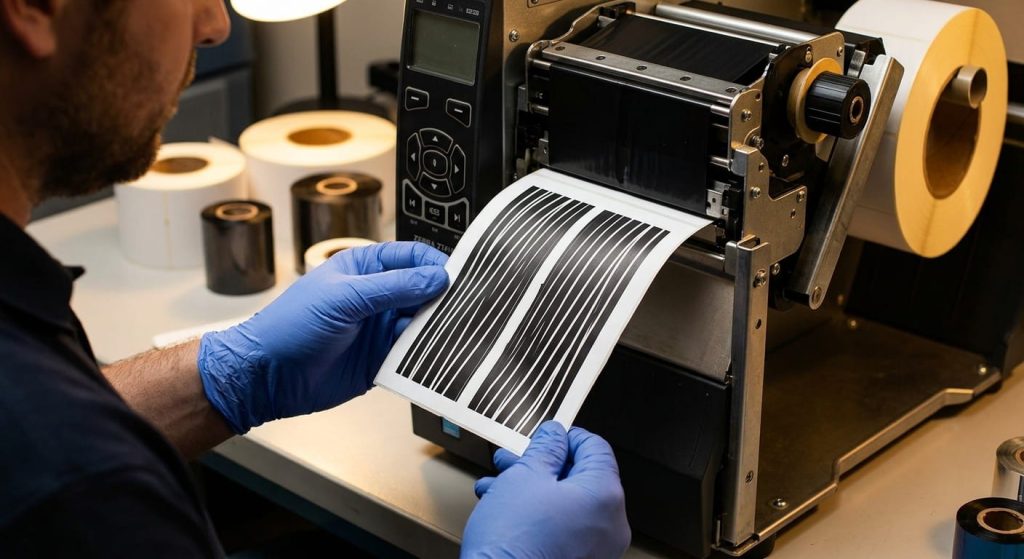
BY sets the bar width ratio and the wide-to-narrow ratio for 1D barcodes. It’s also the most common source of scan failures in Code 128, Code 39, and similar linear formats. The command takes three parameters: module width, wide bar ratio, and bar height. Module width is the narrow bar width in dots.
If the module width is set too low for the printer’s DPI, the resulting bars are physically too narrow to resolve cleanly on the printed media. At 203 dpi, each dot is approximately 0.125mm. A module width of 2 produces a narrow bar of about 0.25mm, which is at the lower boundary of what most industrial scanners will read under good conditions. Drop to a module width of 1 at 203 dpi and the barcode will preview correctly in most viewers but fail consistently in the field, particularly under variable lighting or at any scanning distance beyond 15–20cm.
At 300 dpi, a module width of 2 produces a narrower physical bar than the same setting at 203 dpi, because each dot is smaller. This is a case where copying a ^BY value from a template designed for one print density and deploying it on a higher-resolution printer produces a barcode that looks denser and crisper on screen but is actually harder to read.
If your printer is running at 203 dpi, a module width of 3 is a more reliable baseline for Code 128. At 300 dpi, 2 is workable for most applications, but 3 is safer if the label is going into a high-volume warehouse environment where scanners take readings quickly and don’t always have optimal positioning.
When the Problem Is the Barcode Symbology Itself
Not every scan failure comes from a misconfigured ^BY. Some come from choosing the wrong barcode type for the use case.
QR codes in ZPL are generated with ^BQ. The critical variable is the magnification factor, which controls the size of each module in the matrix. A magnification of 1 at 203 dpi produces modules of roughly 1 dot square around 0.125mm. For a small label where space is tight, this seems like a reasonable choice. In practice, a QR code printed at that scale on a thermal label with any print head wear degrades quickly. The modules bleed together or break apart, and the scanner’s error correction algorithm runs out of room.
A magnification of 3 or higher is more appropriate for QR codes that need to be scanned reliably across a range of devices. The trade-off is label real estate, but a QR code that scans consistently is worth more than one that saves 5mm and fails one time in twenty.
Datamatrix codes (^BX) have similar constraints. The minimum recommended module size for reliable industrial scanning is around 0.38mm, which at 203 dpi translates to a module width of at least 3. Below that threshold, results depend too much on scanner quality and environmental conditions to be considered dependable.
When the Barcode Is Correct but the Scanner Still Won’t Read It
There’s a scenario that catches a lot of teams off guard: the ZPL is correct, the barcode dimensions are appropriate for the DPI, and the label scans fine in testing. Then it fails intermittently in production. No change was made to the template.
The first thing to check is the print head. On a thermal printer running high volumes, the print head wears unevenly. Specific heating elements degrade faster than others. When a barcode happens to print across a section of the print head with reduced output, the bars in that zone print lighter or thinner than the rest. The barcode might scan at one position on the label stock and fail at another, depending on which part of the print head produced it.
Running a test pattern print, usually accessible through the printer’s calibration menu, shows the uniformity of the print head output across its full width. Uneven density is visible and points directly to the cause.
The second thing to check is the label stock itself. Thermal labels are sensitive to storage conditions. Stock that has been exposed to heat, humidity, or direct light before use can affect the contrast between printed bars and the background. A barcode that scans perfectly with fresh stock from a new roll can fail with older stock from the same supplier if the storage conditions differed.
When diagnosing this type of intermittent failure, a ZPL barcode not scanning fix often starts at the hardware and media level, not in the code. Changing the ZPL without addressing a degraded print head or compromised label stock won’t produce consistent improvement.
When the Problem Only Appears at Scale
Batch printing introduces a variable that single-label testing doesn’t surface. When a printer processes a large ZPL job, the print head temperature rises over time. Thermal printers compensate for this through heat management, but the compensation isn’t always perfect. Labels printed early in a batch can look different from labels printed after several hundred cycles.
If scan failures are appearing only in the second half of a large print job, or appearing more frequently as the day progresses on a continuously running printer, heat management is the likely explanation. The fix is usually in the printer’s darkness or heat settings, not in the ZPL.
There’s also a buffer consideration. Some ZPL formatting errors that don’t cause visible problems on individual labels create issues when the printer processes large volumes quickly particularly when the end-of-label command (^XZ) or the label start command (^XA) is malformed in a way that causes the printer to concatenate data from adjacent labels under load. The resulting barcode contains data from two records instead of one and won’t match any expected value in the system.
Running a sample batch of 20–30 labels at production speed before full deployment, and scanning every label rather than spot-checking, is the minimum viable test for catching this type of error. A ZPL label preview tool shows the structure of the ZPL correctly, but the batch behavior under real print conditions requires a physical run. The validation checklist covered in the ZPL pre-print validation process includes this step for exactly this reason.
When the Scanner Is the Variable, Not the Label
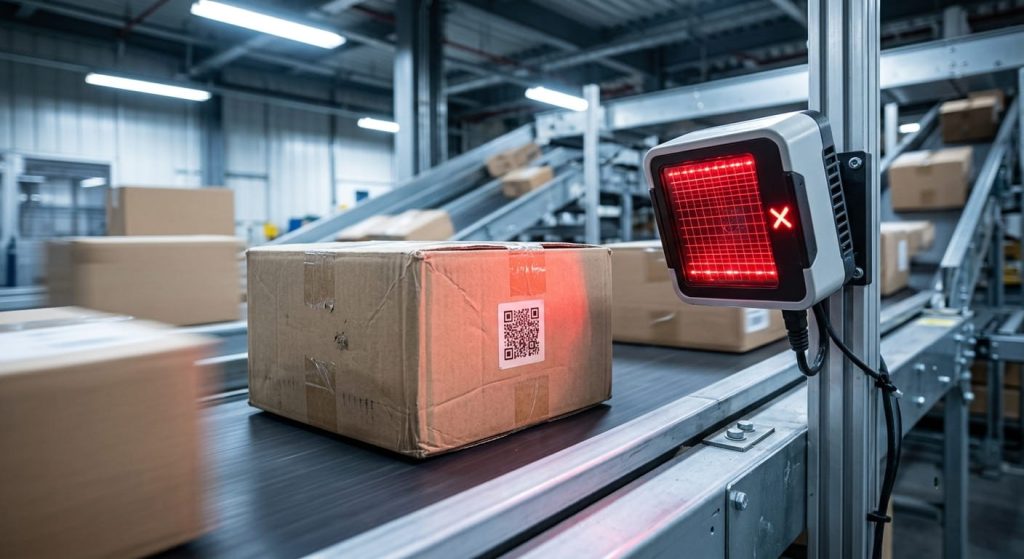
The last scenario worth diagnosing separately is this: the label scans correctly on the handheld scanner in the office, and fails on the fixed-mount scanner at the conveyor.
Fixed-mount scanners used in high-speed logistics environments are often configured with narrower acceptance windows than handheld devices. They read at a fixed focal distance, in a fixed orientation, at a high scan rate. A barcode that’s slightly undersized, slightly rotated on the label, or printed with marginally lower contrast than ideal will get rejected at the fixed-mount scanner at a rate that would never show up in manual scan testing.
If this is the pattern, the fix isn’t in the ZPL syntax alone. The barcode dimensions need to be sized with the most demanding scanner in the workflow in mind, not the most forgiving one. Test with the actual hardware that will be reading the labels in production. Testing with anything else gives results that don’t transfer.
The mistake that turns a manageable label quality problem into a full production incident is deploying a template validated on office equipment to a warehouse running industrial scanning infrastructure. That gap doesn’t show up in any viewer. It shows up in the returns rate and in the time spent tracking down why packages aren’t moving through the system.